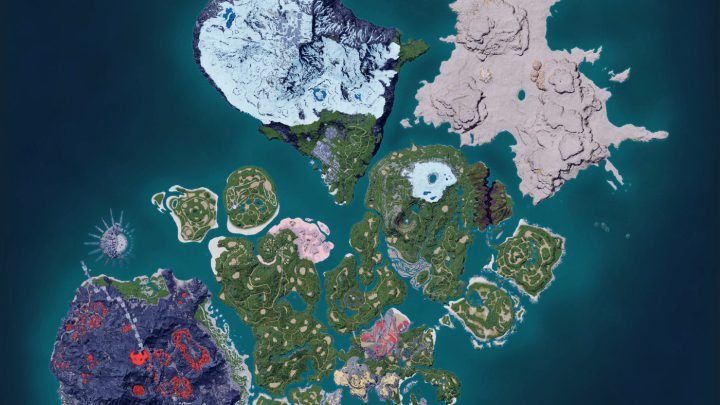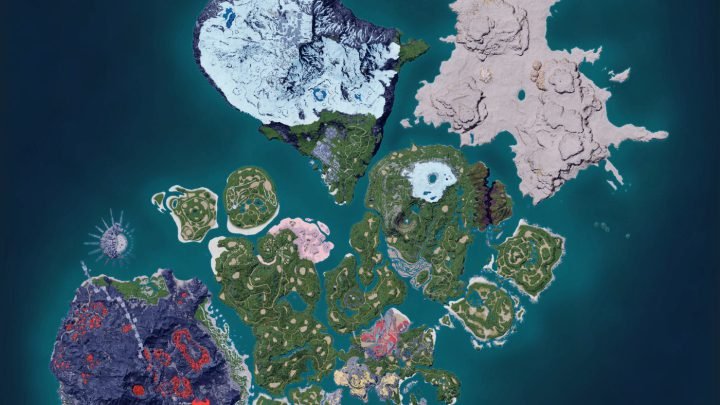
Sunreach Sky Islands are the biggest new area in Palworld 1.0, and getting there is not as simple as flying east. The islands float at high altitude, the approach is patrolled by aggressive level 45-50 Pals, and you need specific gear and prep to survive the trip. This guide covers everything: unlock requirements, the safest flight route, what to bring, and what to do first when you arrive.
Unlock Requirements
You cannot reach Sunreach on foot or from a low-level flying mount. The minimum requirements are:
| Requirement | Why You Need It | Minimum Recommended |
|---|---|---|
| Player Level 45+ | Area enemies start at Lv.45; survival depends on your armor and Pal levels | Level 45 |
| Flying Mount (Fast) | Sunreach is a vertical area; ground travel is impossible between islands | Beakon / Faleris / Ragnahawk (speed > 800) |
| Stamina 150+ | Long flight over the ocean to reach the islands | 150 (200 recommended for safety) |
| Heat/Cold Gear | Sunreach has both extreme heat (volcano island) and extreme cold (glacier island) | Thermal gear or appropriate food buffs |
| Pal Sphere (Giga+) | Pals here are level 48-55; standard spheres will fail | Giga / Ultra spheres, 20+ |
How to Get There: Step by Step
Step 1: Go to the East Coast Launch Point
The main launch point is on the eastern shore of the mainland, near coordinates (850, -120). There’s a small dock with a fast-travel point called “Sunreach Approach.” If you haven’t discovered it yet, follow the eastern coastline north from the Desolate Church until you see a watchtower — that’s the landmark.
Step 2: Assess the Weather
Sunreach is surrounded by a storm zone. If a storm is active, wait it out (check the in-game weather forecast). Storm conditions drain your mount’s stamina 2x faster and reduce visibility. Clear weather windows last roughly 2 in-game hours.
Step 3: Take Off and Climb
The islands float at approximately 400-500 meters above sea level. That’s higher than most players are used to flying. Follow these flight rules:
- Climb first, then move forward. Don’t fly horizontally then climb — you’ll waste stamina fighting gravity later.
- Angle your mount at 30-45 degrees upward. Steeper angles drain stamina faster without gaining more altitude per second.
- Use your glider between sprint cycles to let your mount’s stamina regenerate.
- Target the main (center) island first — it has the largest landing area and a fast-travel point.
Step 4: Watch for Interception
As you approach, Zapdrake and Blazekin patrol the outer islands. They aggro from a long distance and will chase you. If you get dismounted mid-air, you’ll fall — and the fall alone is lethal at that height. Either fly high above their patrol ceiling (they cap out at ~550m) or pick a clear path around their aggro zones.
Step 5: Land on the Main Hub Island
The main island (Sunreach Hub) has a large stone platform in the center. Land there. The fast-travel point is called “Sunreach Crossing.” Activate it immediately so you can return without the flight approach.
What to Bring
| Item | Quantity | Purpose |
|---|---|---|
| Giga / Ultra Spheres | 20-30 | Catching new Pals (level 48-55) |
| Legendary Spheres | 5-10 | Panthalus and high-level alphas |
| Food buffs (Pizza / Salad) | 5-10 | SAN and work speed maintenance |
| Healing items | 10+ | Combat recovery |
| Building materials (wood, stone) | 100+ each | Emergency shelter or fast-travel point |
| Pickaxe (max durability) | 1 | Mining Hexolite Quartz |
What to Do First When You Arrive
- Activate the Sunreach Crossing fast-travel point. This is your lifeline back to the mainland.
- Scout the Geothermal Pools (south of the hub) for Searamander and Hexolite Quartz nodes. Mining Hexolite is your main reason for coming here before endgame.
- Locate the Crystal Cave island — it’s the smaller floating island to the east. Crystalisk spawns there, and it drops Life Crystals needed for Mutation Elixirs.
- Mark the Storm Peak for later. Zaphoenix is the best Electric worker in the game, but it only spawns during storms.
- Don’t fight Sunreach Tower yet. Auri and Shaolong (level 50 boss pair) are much harder than anything else on the islands. Prepare separately.
Alternative Routes
The “Safe” Route (Recommended for First Visit)
Instead of flying directly from the mainland, go to the eastern watchtower at (870, -150). From the top, launch with a glider and deploy your flying mount at the apex. This saves about 30% of the stamina needed for the full climb from sea level.
The “Cheese” Route
Build a base on the eastern cliff edge near the watchtower. Place a Palbox as high as possible. Set it as your fast-travel home, then grapple-launch from the roof of your base. The slightly higher starting elevation makes the flight easier, and you can recover there if you crash.
What Not to Do
- Don’t swim. The ocean below the islands has level 50+ water Pals, and you can’t board your flying mount from water easily.
- Don’t bring a ground mount. There’s no path between islands. Only flying mounts work.
- Don’t go at night. Visibility is already bad in the storm zone; night flight makes it much harder to find landing platforms.
- Don’t assume one trip is enough. You’ll be back multiple times for Hexolite, mutations, and Panthalus farming.
FAQ
Can I reach Sunreach without a flying mount?
Not safely. Gliders alone don’t have enough horizontal range. A flying mount with 800+ speed is the practical minimum.
Do I need to beat Sunreach Tower to explore the islands?
No. Sunreach Tower is optional content in the same sense as the original Tower Bosses. You can explore all floating islands without entering the tower.
How much Hexolite Quartz can I farm per trip?
With a max-durability pickaxe and clearing all visible nodes, expect 30-50 Hexolite Quartz per trip. Nodes respawn every 2-3 in-game days.
Is there a fast-travel point in Sunreach?
Yes — Sunreach Crossing on the main hub island. Activate it as soon as you land.
Related guides: Sunreach & World Tree Overview | New Pal Locations | Panthalus Guide