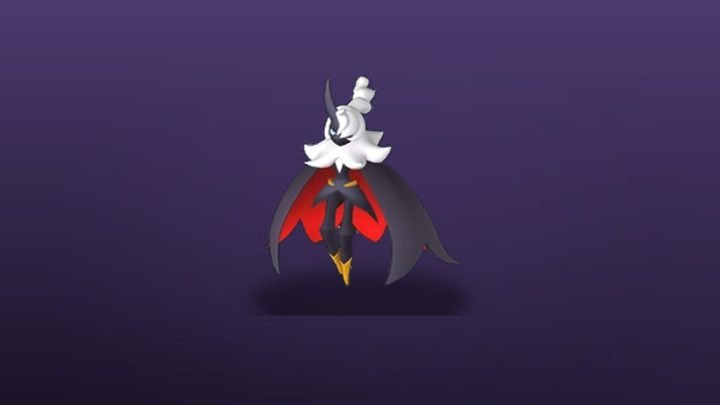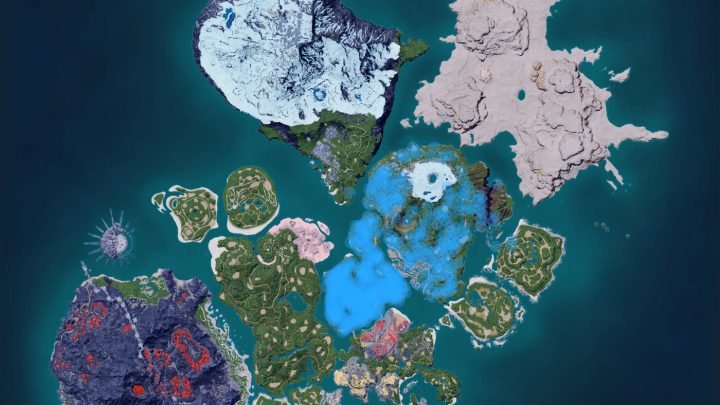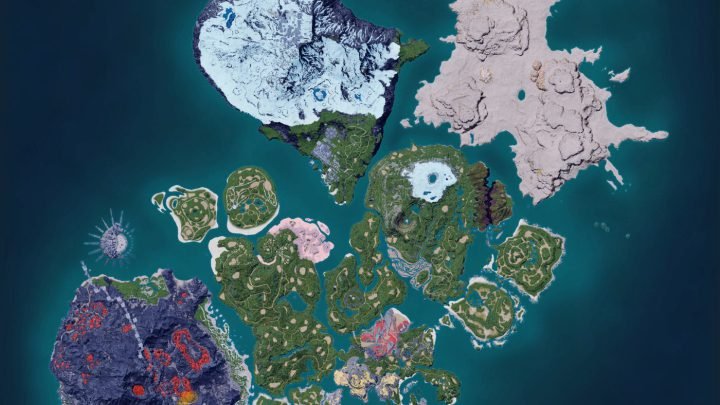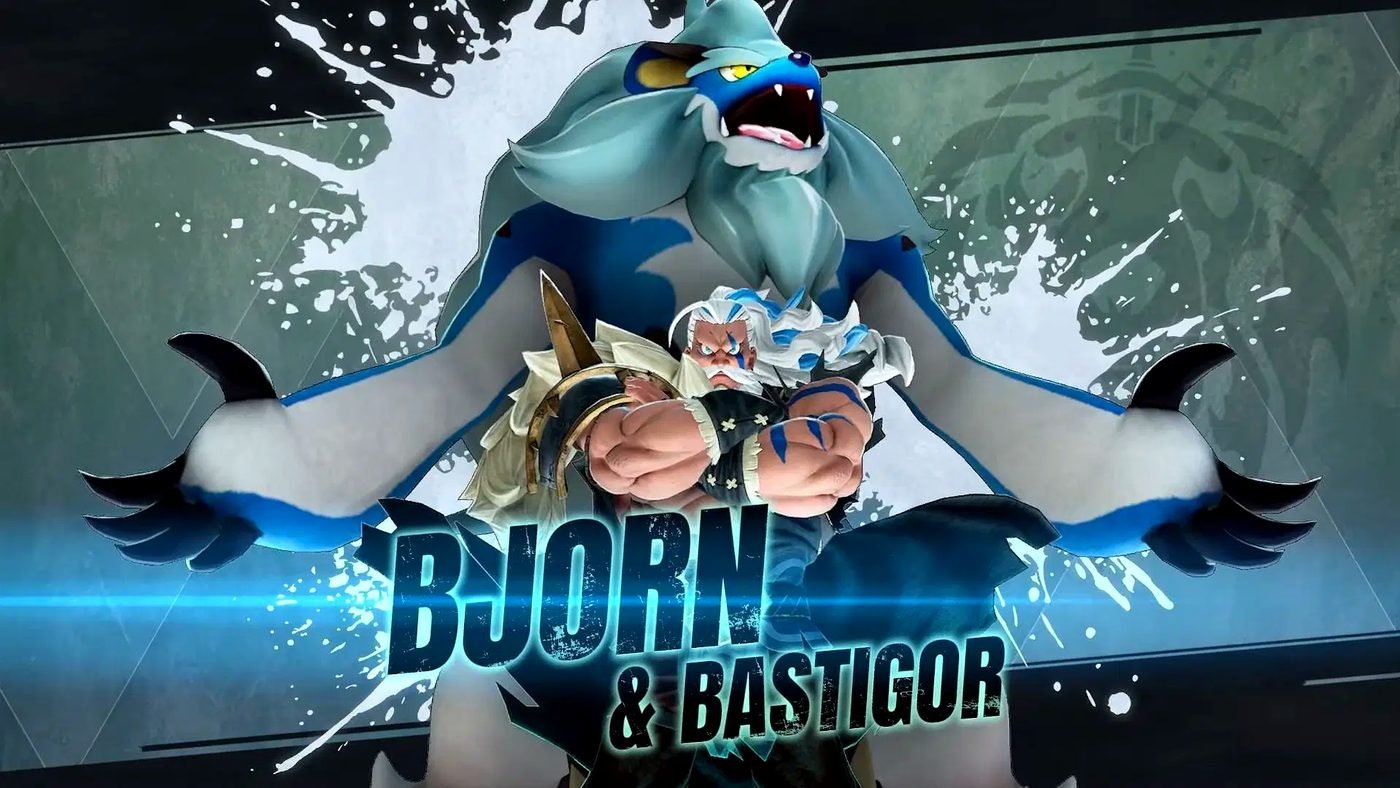
Bjorn and Bastigor are the Palworld 1.0 boss pair in Feybreak Tower, the new zone accessible from the western edge of the map. This fight is an Ice-themed two-phase battle: Bjorn (Human + Pal, Ice) followed by a Bastigor enrage transformation. It hits harder than Sunreach Tower and requires serious cold resistance gear.
Fight Overview
| Phase 1: Bjorn + Bastigor | Phase 2: Enraged Bastigor | |
|---|---|---|
| Element | Ice (both) | Ice (enhanced) |
| Weak to | Fire, Dragon | Fire, Dragon |
| Level | 55 | 55 (enraged) |
| HP pool | Shared — approximately 120,000 total | |
| Enrage trigger | Bastigor absorbs Bjorn at 40% HP | |
Preparation
Recommended Level
Player level 52+. This is tuned above Sunreach. Trying this at 48 or lower is possible but will consume significantly more resources.
Gear Checklist
- Armor: Cold-resistant Metal Armor (at minimum) or Sunreach gear for the best defense. You must have heat source accessories for the cold arena.
- Shield: Hyper Shield (2,000+ capacity)
- Weapon: Rocket Launcher + Assault Rifle or Shotgun (close range during enrage)
- Consumables: Spicy food buffs (for cold resistance), 10+ Pizza, Revival items x5
Recommended Team
| Pal | Role | Reason |
|---|---|---|
| Jormuntide Ignis / Blazamut / Infernotaur | Main DPS | Fire beats Ice for 2x damage in both phases |
| Jetragon / Panthalus | Secondary DPS / mobility | Dragon for neutral coverage; Jetragon’s speed helps dodge Blizzard |
| Faleris / Ragnahawk | Fire support mount | Fire element flying combat |
| Surfent / Tsunami | Backup (not optimal) | Water is neutral to Ice; use only if Fire Pals faint |
Phase 1: Bjorn + Bastigor
Key Attacks
- Blizzard Breath: Bastigor fires a wide ice cone. Slows on hit. The slow stacks — three hits will immobilize you for 3 seconds. Avoid at all costs.
- Icicle Spear (Bjorn): Bjorn throws ice projectiles while riding Bastigor. These track your position but can be dodged by sprinting perpendicular.
- Frost Ground: Bastigor stomps, creating a freezing wave that covers the arena floor. Jump over the wave at the right timing (similar to Mammorest’s stomp but faster).
- Glacial Wall: Bastigor summons an ice wall that blocks movement and projectiles for 10 seconds. Don’t get trapped against it.
Strategy
- Open with Rocket Launcher while Bjorn is doing their intro speech — you can get 2-3 free rockets before the damage starts.
- Deploy a Fire Pal (Jormuntide Ignis is ideal) and keep range. Let your Pal tank Bastigor’s attention while you DPS from the side.
- Don’t get hit by Blizzard Breath twice. The slow is the real threat in this phase — if you get slowed to immobile, Bastigor will follow up with a Frost Ground that you can’t dodge.
- Remove Glacial Walls quickly — switch to your Pal’s ranged attack to destroy them, or reposition to the other side of the arena.
Phase 2: Enraged Bastigor (40% HP)
At 40% HP, Bjorn dismounts and Bastigor transforms. The arena gets a permanent blizzard effect (deal chip cold damage over time) and Bastigor’s attack speed doubles.
New Attacks (Enrage)
- Blizzard Charge: Bastigor charges across the arena wrapped in a blizzard. Deals heavy damage and leaves a trail of freezing ground. Dodge sideways — the charge tracks your position initially but locks after 1 second.
- Ice Meteor: Bastigor summons large ice chunks that fall across the arena. Unlike Shaolong’s Meteor Shower, these are fewer but each hit is potentially lethal. Watch the shadow indicators.
- Absolute Zero: A room-wide AoE that fires at 3-second intervals. Each pulse deals moderate damage and increases cold buildup. Your cold resistance gear and food buff is tested here.
- Keep spicy food active — the cold DoT is significant and will kill you if you let it stack.
- Summon your Pal, attack, dodge, repeat. Don’t leave your Pal out during Blizzard Charge — call it back, let Bastigor finish the charge, then redeploy.
- Stay at mid-range — far enough to dodge charges, close enough to land Rocket Launcher shots.
- In multiplayer: Assign one player to focus on breaking Bastigor’s charge pattern (taunt or body-block) while the other DPSes.
- Final burst at 10%: Everything you have. Rocket Launcher, Pal skills, weapon skills. Absolute Zero pulses get faster as HP drops.
Strategy (Phase 2)
Rewards
| Reward | Quantity | Notes |
|---|---|---|
| Ancient Technology Points | 12 | Higher than earlier towers |
| Life Crystals | 5-8 | Best farm for Life Crystals in the game |
| Feybreak Core | 1 | Crafting material for Feybreak-tier gear |
| Bastigor Egg (first clear) | 1 | Guaranteed Huge Frozen Egg with Bastigor |
| Technical Manual (Feybreak) | 1 | Unlocks Feybreak technology |
FAQ
Is this harder than Sunreach Tower?
Yes. Bjorn and Bastigor have approximately 50% more HP than Auri & Shaolong, and the arena-wide cold DoT in Phase 2 forces a gear check. If you cleared Sunreach comfortably, you still need better cold gear for this fight.
Can I bring Ice Pals?
Not recommended. Bastigor is Ice element and has high Ice resistance. Bring Fire Pals exclusively for optimal damage.
What is the Bastigor Egg used for?
The guaranteed egg from the first clear hatches into Bastigor with guaranteed high IVs. It’s a top-tier Ice combat Pal and a key breeder for endgame Ice combinations.
Can I rematch for more Bastigor Eggs?
Yes. Subsequent clears have a 20% chance to drop another egg. Weekly reset, same as other tower loot.
Related guides: Sunreach & World Tree Guide | Auri & Shaolong Guide | All Tower Bosses Order